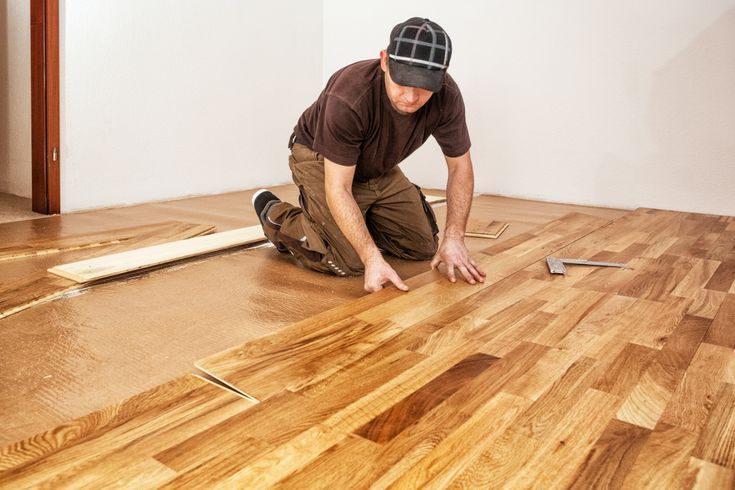
Vinyl flooring has garnered considerable acclaim for its durability, aesthetic appeal, and low maintenance requirements. However, like all types of flooring, it’s not completely impervious to wear and tear. Accidents happen; sometimes, a vinyl plank may suffer damage that necessitates its replacement. If you’re not keen on immediately seeking a vinyl flooring service, you may want to tackle the issue yourself. Below, we’ll guide you through the steps for removing and replacing damaged vinyl flooring planks.
Assessing the Damage
The first step is identifying the plank or planks that need replacing. Look for signs like visible scratches, discolouration, or dents to select which piece requires attention.
Gathering Tools and Materials
For this DIY project, you’ll need the following:
- Replacement vinyl plank(s)
- Utility knife
- Putty knife or crowbar
- Straight edge
- Adhesive (if not using a click-lock plank)
- Tape measure
Removal of the Damaged Plank
Cutting
Use a utility knife and a straight edge to score a line down the centre of the damaged plank. Take care not to cut through any surrounding good planks. Make additional cuts from the centre line towards each corner of the plank, forming an ‘X’ shape.
Loosening the Edges
Utilise a putty knife or a small crowbar to gently pry up the centre of the plank, starting from where you’ve made the incisions. Once the centrepieces are removed, you’ll have easier access to the edges.
Full Removal
Continue to use your putty knife or crowbar to pry up the remaining pieces of the plank carefully. If the plank is glued down, you may need to apply a bit more force. Remove all debris and clean the exposed area to prepare it for the new plank.
Installing the New Plank
Dry Fitting
Before securing it, lay the new plank in the empty space to ensure it fits correctly. Trim, if necessary, using a utility knife and straight edge.
Securing the New Plank
If your replacement plank has a click-lock design, simply align it with the adjacent planks and press down until it clicks into place. If you are using a glued plank, apply adhesive to the back and gently place it in the correct position, making sure to align it accurately with the surrounding planks.
Finishing Touches
Press down firmly on the newly installed plank to ensure it’s securely in place. You may use a rubber mallet for this. Wipe off any excess adhesive before it dries.
When to Seek Professional Help
While DIY repairs can be fulfilling and cost-effective, some situations may require expert intervention. For extensive subfloor issues, or if you’re not comfortable handling the task yourself, it might be wise to contact a professional vinyl flooring service.
Conclusion
Replacing a damaged vinyl plank isn’t as daunting as it may seem. With the proper tools and a bit of patience, you can restore the beauty and functionality of your floor without needing professional intervention. However, don’t hesitate to seek expert services for larger issues or peace of mind.